
Why homeowners in Albany should focus on flashing, not just shingles
When a roof starts leaking, the cause is often located at transitions and penetrations instead of in the middle of the shingle field. Flashing is the thin, corrosion-resistant metal installed around vulnerable roof details such as chimneys, skylights, plumbing vents, and where a roof meets a wall. A properly installed flashing system directs water away from those entry points, reducing the chance that moisture finds its way under underlayment.
For homes in Albany, winter freeze-thaw cycles and wind-driven rain can expose weaknesses in flashing details. A contractor visit should include a deliberate inspection of these areas so the repair plan addresses the actual water path.
What a thorough inspection should look for on a first visit
A professional visit usually starts with an exterior assessment from the ground and then a targeted close-up review of the highest-risk features. During the evaluation, Ultimate Roofing can focus on the most common failure points that homeowners can also learn to recognize.
- Chimneys and step flashing: Look for missing or lifted step flashing along the chimney-to-roof joint.
- Skylights and curb flashings: Confirm the sealant system is intact and the flashing transitions are properly lapped.
- Plumbing vents and pipe collars: Check that boots and collars remain watertight and securely fastened.
- Valleys and intersections: Verify that metal or shingle-to-shingle transitions channel water cleanly.
- Edges and wall transitions: Inspect the seam where a roof meets exterior siding or masonry.
After severe weather, the inspection should also prioritize evidence of impact, lifted edges, and possible ice-related displacement. Even if shingles still look intact, water intrusion frequently begins at a compromised flashing detail.

Key flashing types and where they belong
Not all flashing is interchangeable. The right metal form depends on the roof detail it protects. Understanding the basics helps homeowners ask better questions when planning repairs.
Step flashing
Step flashing is designed for vertical wall-to-roof junctions, commonly at chimneys. It is installed in “steps” that overlap shingle courses to keep water from migrating behind the metal.
Counter flashing
Counter flashing is installed over the step flashing to create a layered barrier. It helps seal the joint so wind-driven water cannot work its way into the opening between the chimney and the roof deck.
Valley flashing
Valley flashing is intended for roof valleys where two slopes meet and water concentration is highest. A properly constructed valley helps manage large volumes of runoff without diverting moisture into seams.
A visit should also confirm the material is appropriate for the property and that the installer follows correct lapping order and fastening practice.
What to ask about storm damage and insurance documentation
If the issue started after hail, high winds, or heavy rain, homeowners should bring that timeline to the appointment. A helpful contractor will be able to explain what observations tie to storm conditions and which details are likely responsible for the leak path.
Questions worth asking include:
- Which roof sections showed the strongest signs of water entry?
- Is the flashing detail damaged, missing, or installed inconsistently with typical layering?
- What repair scope is needed to prevent recurrence, not just patch a symptom?
- Will the team provide photos for documentation and an explanation of the visible damage?
- How does the workmanship warranty apply to the repair work and schedule follow-up inspections if needed?
In storm situations, fast action matters. Waiting can allow moisture to affect decking, insulation, and interior finishes.
Materials, workmanship expectations, and warranty verification
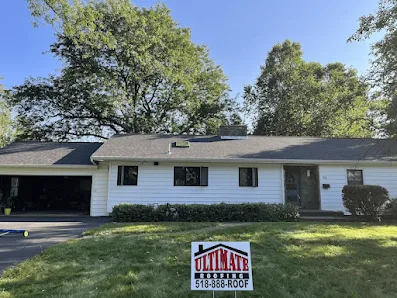
Homeowners in Albany benefit from clarity on the repair plan: what will be replaced, what will be reused, and how the new flashing will interface with the existing roof layers. Ultimate Roofing’s listing highlights an emphasis on inspection and storm/emergency response, which aligns with the needs of homes where water intrusion begins at roof details.
During the visit, request a written outline of the work order that includes the flashing components addressed, the expected start timeline, and the workmanship coverage. Confirm any applicable workmanship warranty terms and ask how repair outcomes are verified after installation.
If a contractor recommends larger system work beyond flashing, homeowners can use the same approach: ask where the failure started, what materials are planned, and how the repair will stop water movement along the roof assembly.
Homeowner checklist: signs that flashing needs attention
Not every leak is obvious. Homeowners can watch for early indicators that a flashing-related detail may be failing:
- Water stains appearing near ceilings or walls after wind-driven rain or thaw cycles
- Soft spots or damp areas in the attic around penetrations
- Rust, separation, or lifted seams at chimney edges or around skylights
- Granule loss patterns that coincide with nearby roof transitions
When these signs show up, the best next step is a focused roof inspection that targets flashing and the surrounding roof layers. A practical visitor guide is only useful if it leads to a detailed on-site review that identifies the actual water path.
Next time you call: how to make the appointment more productive
To get faster answers during the first visit, share photos of the leak area, note when the issue began, and mention any recent storms or roof work. Ask the contractor to walk through which flashing types are involved and how the repair will restore the layered water barrier at the affected transitions.
For homeowners evaluating storm and emergency roof needs in Albany, this approach helps ensure the repair addresses flashing where leaks typically start, with documentation and workmanship expectations clear from day one.